Assignment 1: Advanced Traffic & Pedestrian Controller
Course: DE6417 Microcontrollers 2
Assessment Type: Practical
Weighting: 10%
Objective
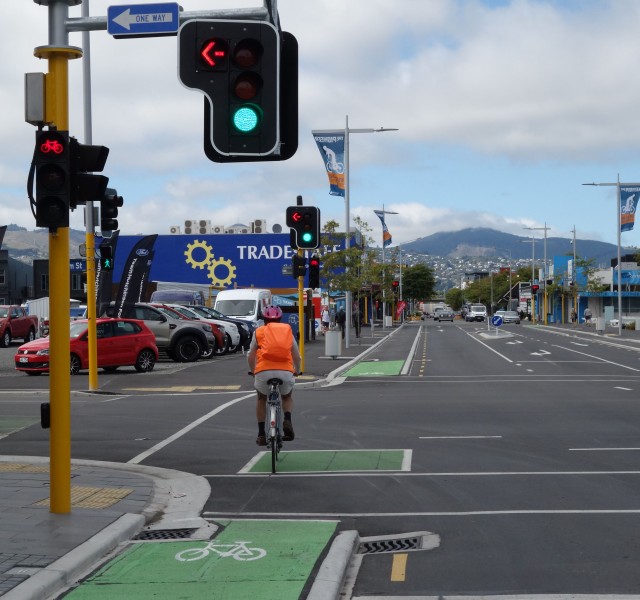
The objective of this assignment is to design, implement, and validate a robust embedded control system for a New Zealand Standard pedestrian crossing (referencing RTS 14). Unlike the introductory tasks in Microcontrollers 1, this assignment focuses on system reliability, non-blocking architecture, and safety-critical state management.
Source: NZTA Signal Phasing and Timing
Learning Outcomes Assessed
- LO1: Apply microcontroller hardware technology to a given application.
- LO2: Analyse and implement the operation of off-chip peripherals.
- LO3: Select and use microcontroller development tools.
- LO4: Investigate testing strategies and programming techniques for fault tolerance.
- LO5: Develop a working software solution to meet a given specification.
Learning Outcomes Mapping
This assignment addresses all five learning outcomes from the DE6417 course. The following explains how each learning outcome is assessed through specific assignment components:
LO1: Apply microcontroller hardware technology to a given application
Students demonstrate this outcome through the Hardware Design section, where they apply Arduino Uno hardware technology to build a real-world traffic light application. This includes selecting appropriate components (LEDs, resistors, buzzer, button), configuring pin assignments, and implementing proper electrical connections with current-limiting resistors.
LO2: Analyse and implement the operation of off-chip peripherals
This outcome is assessed through the implementation of multiple off-chip peripherals: LEDs for traffic and pedestrian signals, a piezo buzzer for audio feedback, and a push button for user input. Students must analyse how each peripheral operates and correctly interface them with the microcontroller, including understanding pull-up/pull-down resistor configurations and PWM-driven audio generation.
LO3: Select and use microcontroller development tools
The Development Tools Selection section directly addresses this outcome. Students must select and use appropriate development tools including an IDE (Arduino IDE or PlatformIO), simulation software (Tinkercad Circuits), and debugging tools (Serial Monitor). The technical report requires justification of tool selection and explanation of how these tools aided the development process.
LO4: Investigate testing strategies and programming techniques for conformance to specification and fault tolerance
This outcome is demonstrated through the Input Processing (Debouncing) section, where students investigate programming techniques for fault tolerance by implementing non-blocking debounce algorithms. The FSM design requires conformance to specification (NZ Traffic Control Devices Rule and RTS 14 guidelines). Students must document their testing strategies and justify how their approach prevents false triggers.
LO5: Develop a working software solution to meet a given specification using techniques to aid testing and fault tolerance
Students develop a complete software solution (FSM-based firmware) that meets the NZ standard specification. The code must use techniques to aid testing (debug output via preprocessor directives) and fault tolerance (non-blocking architecture, robust state transitions). The simulation/demonstration deliverable validates that the solution is working and meets all requirements.
Part 1: Hardware Design
Required Components
- 1x Arduino Uno (or compatible microcontroller)
- 1x Breadboard
- 3x LEDs (Red, Yellow, Green) for Traffic Signal
- 2x LEDs (Red, Green) for Pedestrian Signal
- 1x Push Button
- 1x Piezo Buzzer (Active or Passive)
- 5x 220Ω Resistors (for LEDs)
- 1x 10kΩ Resistor (for Button pull-down/up)
- Jumper Wires
You are required to simulate or build a circuit that accurately reflects a real-world intersection. The hardware must include:
- Vehicle Signal Group: 3 LEDs (Red, Yellow, Green). Connect each LED through a 220Ω current-limiting resistor to digital output pins.
- Pedestrian Signal Group: 2 LEDs (Red, Green). Use the same resistor configuration as traffic lights.
- Audio Output: 1 Active or Passive Buzzer. Connect to a PWM-capable pin for tone generation.
- User Input: 1 Tactile Push Button (Pedestrian Call). Use either a pull-up (with 10kΩ to VCC) or pull-down (with 10kΩ to GND) resistor configuration.
- Use consecutive digital pins for related components (e.g., pins 2-4 for traffic LEDs, pins 5-6 for pedestrian LEDs).
- Reserve a PWM pin (e.g., pin 9 or 10) for the buzzer to enable tone() functionality.
- Use an interrupt-capable pin (pin 2 or 3 on Uno) for the button if implementing interrupt-based detection.
- Document all pin assignments in your code using
constor#definestatements.
Part 2: Systems Engineering Requirements
A. Finite State Machine (FSM)
Your software MUST be designed using a Finite State Machine model. Ad hoc "spaghetti code" logic is not acceptable at Level 6. You must design a State Diagram (Mealy or Moore) that handles the following inputs and transitions:
| Phase | Signal State | Audio Feedback | Duration | Logic |
|---|---|---|---|---|
| IDLE | Traffic Green, Ped Red | Silent / Slow Tick* | Infinite | Waiting for Button Press. |
| STOPPING | Traffic Yellow, Ped Red | Silent | 4 Seconds | Transition logic safely halts cars. |
| ALL-RED SAFETY | Traffic Red, Ped Red | Silent | 2 Seconds | Clears intersection before Pedestrian start. |
| CROSSING | Traffic Red, Ped Green | High Frequency Chirp | 6-10 Seconds | Pedestrians walk. Buzzer active. |
| CLEARANCE | Traffic Red, Ped Red (Flashing) | Silent | 5 Seconds | Signals pedestrians to finish crossing. |
| RECOVERY | Traffic Green, Ped Red | Silent | Min 10 Seconds | Enforce traffic flow before next cycle. |
*Advanced feature: Implement a slow "locator" tick in the IDLE state for visually impaired access.
B. Advanced Input Processing (Debouncing)
In Microcontrollers 2, we acknowledge that mechanical switches are imperfect. When the pedestrian button is pressed, the contacts may bounce, creating multiple false signals.
- You must implement a Software Debouncing Algorithm.
- Prohibited: Do not use simple `delay(50)` commands that block the CPU. Your debounce logic must be non-blocking to allow other system tasks (like LED refreshing) to run continuously.
C. Audio Generation
The system must generate an audible signal to assist visually impaired pedestrians.
- Active Buzzer: Toggle the driving pin to create the chirp pattern.
- Passive Buzzer: Use a PWM signal or timer frequency to generate a ~2.5kHz tone.
- Pattern: The sound should be a rapid, distinct "chirp" or beep sequence synchronized with the Green Man signal.
D. Development Tools Selection (LO3)
As part of this assignment, you are expected to select and use appropriate microcontroller development tools:
- IDE Selection: Use Arduino IDE (recommended version 2.x) or PlatformIO for code development. Justify your choice in your report.
- Simulation Software: Use Tinkercad Circuits for circuit simulation and testing.
- Debugging Tools: Utilize Serial Monitor for debugging state transitions and timing. Include debug output in your code that can be enabled/disabled via a preprocessor directive.
- Version Control (Optional but recommended): Consider using Git for tracking code changes during development.
In your report, briefly discuss why you selected the tools you used and how they aided your development process.
Implementation Requirements
- Non-Blocking Code: The use of `delay()` is strictly prohibited for the main state machine timing. You must use `millis()` or hardware timers.
- Safety Criticality: A transition from GREEN to RED without a YELLOW phase is a critical failure. Your code structure should make such illegal transitions impossible.
- Modularity: Use functions such as `readButton()`, `updateLEDs()`, and `stateMachineUpdate()`.
Submission Guidelines
1. Technical Report (PDF)
Your technical report should be a professionally formatted document (recommended 4-8 pages) that demonstrates your understanding of the system design and implementation. Include the following sections:
- Problem Description (0.5-1 page): Describe the safety-critical nature of traffic light timing. Discuss why proper sequencing and timing is essential for pedestrian safety. Reference the NZ Traffic Control Devices Rule and RTS 14 guidelines where appropriate.
- State Machine Diagram (1-2 pages): A professional diagram showing all states and transition conditions. Provide a written description of each state, including its purpose, duration, and the conditions that trigger transitions to other states. Explain your choice of FSM type (Mealy or Moore) and how it maps to your code implementation.
- Debounce Logic (0.5-1 page): Explanation of how you handled switch bounce. Describe the button behaviour before implementing debouncing (e.g., false triggers, erratic state changes) and after implementing your solution (e.g., stable, reliable input detection). Relate this to fault tolerance as described in LO4. Include a flow chart or pseudocode illustrating the algorithm. Justify why your approach is non-blocking and how it prevents false triggers.
- Development Tools (0.5 page): Describe the development environment and tools used (Arduino IDE, simulation software, etc.). Explain your tool selection rationale and how these tools aided in development and debugging.
- Video Demonstration: A clickable link to a short video showing the fully functional system. Ensure the link is accessible to markers.
2. Source Code (.ino / .cpp)
Connect your file to your report or submit separately. Code must be heavily commented, explaining the role of every state and function.
Grading Rubric
| Criteria | Points | Description |
|---|---|---|
| FSM Design | 30 | Clear diagram, correct logic implementation, robust state transitions. Illegal states prevented. |
| Input Processing | 20 | Professional debouncing without blocking delays. Non-blocking architecture. |
| Functionality & NZ Standards | 25 | Correct NZ sequence, accurate timing, correct LED/Buzzer behavior. Follows phase table accurately. |
| Code Quality | 15 | Modular, commented, meaningful variable names, non-blocking architecture (millis), use of enums/constants. |
| Documentation | 10 | Professional report, development tools justification, and design choices explained. |